
A clean recording starts before Record.
Record your own voice in the browser, check microphone level and compare original with boosted or enhanced audio before downloading WAV or training.
Free account · Your own voice · Background processingHear what a level change does.
Synthetic speech at two input levels. The second sample has a simple gain boost; it illustrates the level difference before you make your own recording.
Illustrative audio · No real person’s voice model used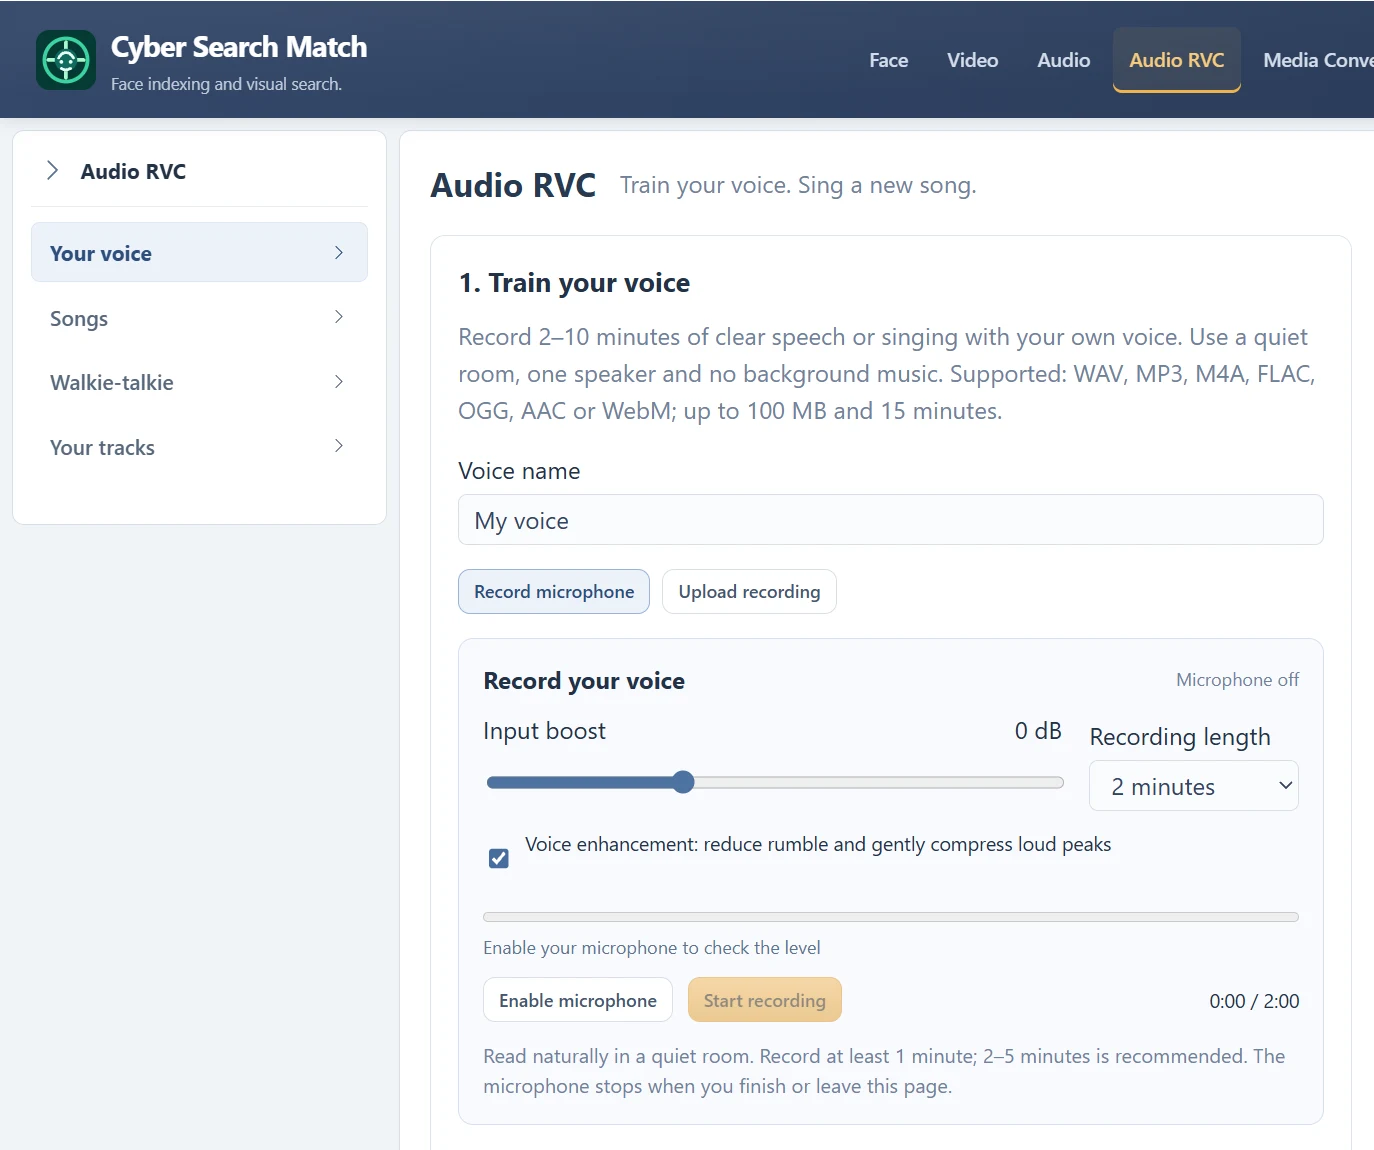
Four steps. One voice workspace.
- 01
Enable the microphone
Allow access and speak at your normal distance.
- 02
Set a clean level
Start at 0 dB and check the input meter before recording.
- 03
Record and listen
Choose 1, 2 or 5 minutes, then compare the original and processed versions.
- 04
Keep your sample
Download WAV or use a recording of at least 1 minute for training.
Allow access. Check the meter.
Open Audio RVC and choose Record microphone. Select Enable microphone and allow the browser prompt. Speak normally at the distance you will use for the whole session; the input meter helps show whether the signal is very quiet or too loud.
Input boost ranges from −12 to +24 dB and starts at 0 dB. Voice enhancement reduces low rumble and gently compresses loud peaks. It is not a repair tool for a clipped microphone or a noisy room. Improve the recording conditions before increasing gain.
Record once. Compare two versions.
Choose 1, 2 or 5 minutes, start recording and stop when finished or let the selected time limit end the session. The microphone stops when you finish or leave the voice page. Keep the page open while preparing and reviewing the browser recording.
After recording, switch between Original and Boosted / enhanced, listen and check Peak and Average dBFS. Download WAV saves the selected version. A sample shorter than 1 minute can be previewed and downloaded but is not eligible for training.
If the microphone will not start.
Denied access requires changing this site’s microphone permission in the browser. If no microphone is found, connect or select an input device. If the input is busy, close another recording application and try again. Use an HTTPS connection and a browser supporting microphone capture and audio recording.
A recorder session is not a continuous voice converter. For a converted spoken reply, first prepare a ready model and switch to Walkie-talkie. Its short-message flow starts after you hold and release the talk button.
Questions about this workflow
Do I need a voice model first?
Song conversion and walkie-talkie messages require one of your ready voice models. You can record and preview a sample before training. The current training form asks you to confirm that it is your own voice.
Can I leave while a task runs?
Keep the page open until recording, upload and submission finish. Submitted training and conversion jobs continue in the background; return to Your tracks & training to check progress.
Is this a continuous live voice filter?
No. Walkie-talkie records a short message and converts it after release. CPU processing can take tens of seconds. It does not provide a virtual microphone or a continuous Discord voice feed.
Choose your next voice task.
Voice Changer
Train your own voice model, convert a song’s vocals or send a short recorded message through it. Record, review and create in one browser workspace.
AI Song Covers
Convert a song’s singing with your own trained voice model. Review the final mix alongside separated vocals and instrumental audio.
Own Voice Model
Record or upload your own speech or singing, submit training and use the ready model for song covers and short voice messages.
Push-to-Talk Voice Changer
Record a short message and hear a converted reply in your trained voice. Each message is processed after release, with playback and MP3 download.
Better input. A more useful result.
How to Record a Useful Voice Model Sample
Prepare a clean own-voice recording: duration, room, microphone distance, speech and singing before training.
Microphone Gain: Boost Your Voice Without Clipping
Use the input meter, −12 to +24 dB boost and original/processed playback to prepare a clean voice recording.
Separated Vocals and Instrumental: Read the Song Outputs
Understand the final mix, original vocal stem and instrumental stem produced by a completed song conversion.
Song Conversion Levels: Recording, Playback and Mix
Distinguish microphone gain, player volume and the fixed vocal/instrumental mix used for song conversion.
Voice Training Queued: Progress, Waiting and Failures
Understand queued training, background processing, ready models and what to do when a voice task fails.
Voice Conversion vs Text-to-Speech
Choose between changing recorded sound, generating speech from text and transcribing a recording.
Voice Tools Permissions: Microphone, Samples and Songs
Understand microphone access, the own-voice training confirmation, song permissions and account-only outputs.
See what your media
can do for you.
Create your free accountNo card required. Start with a Free account.